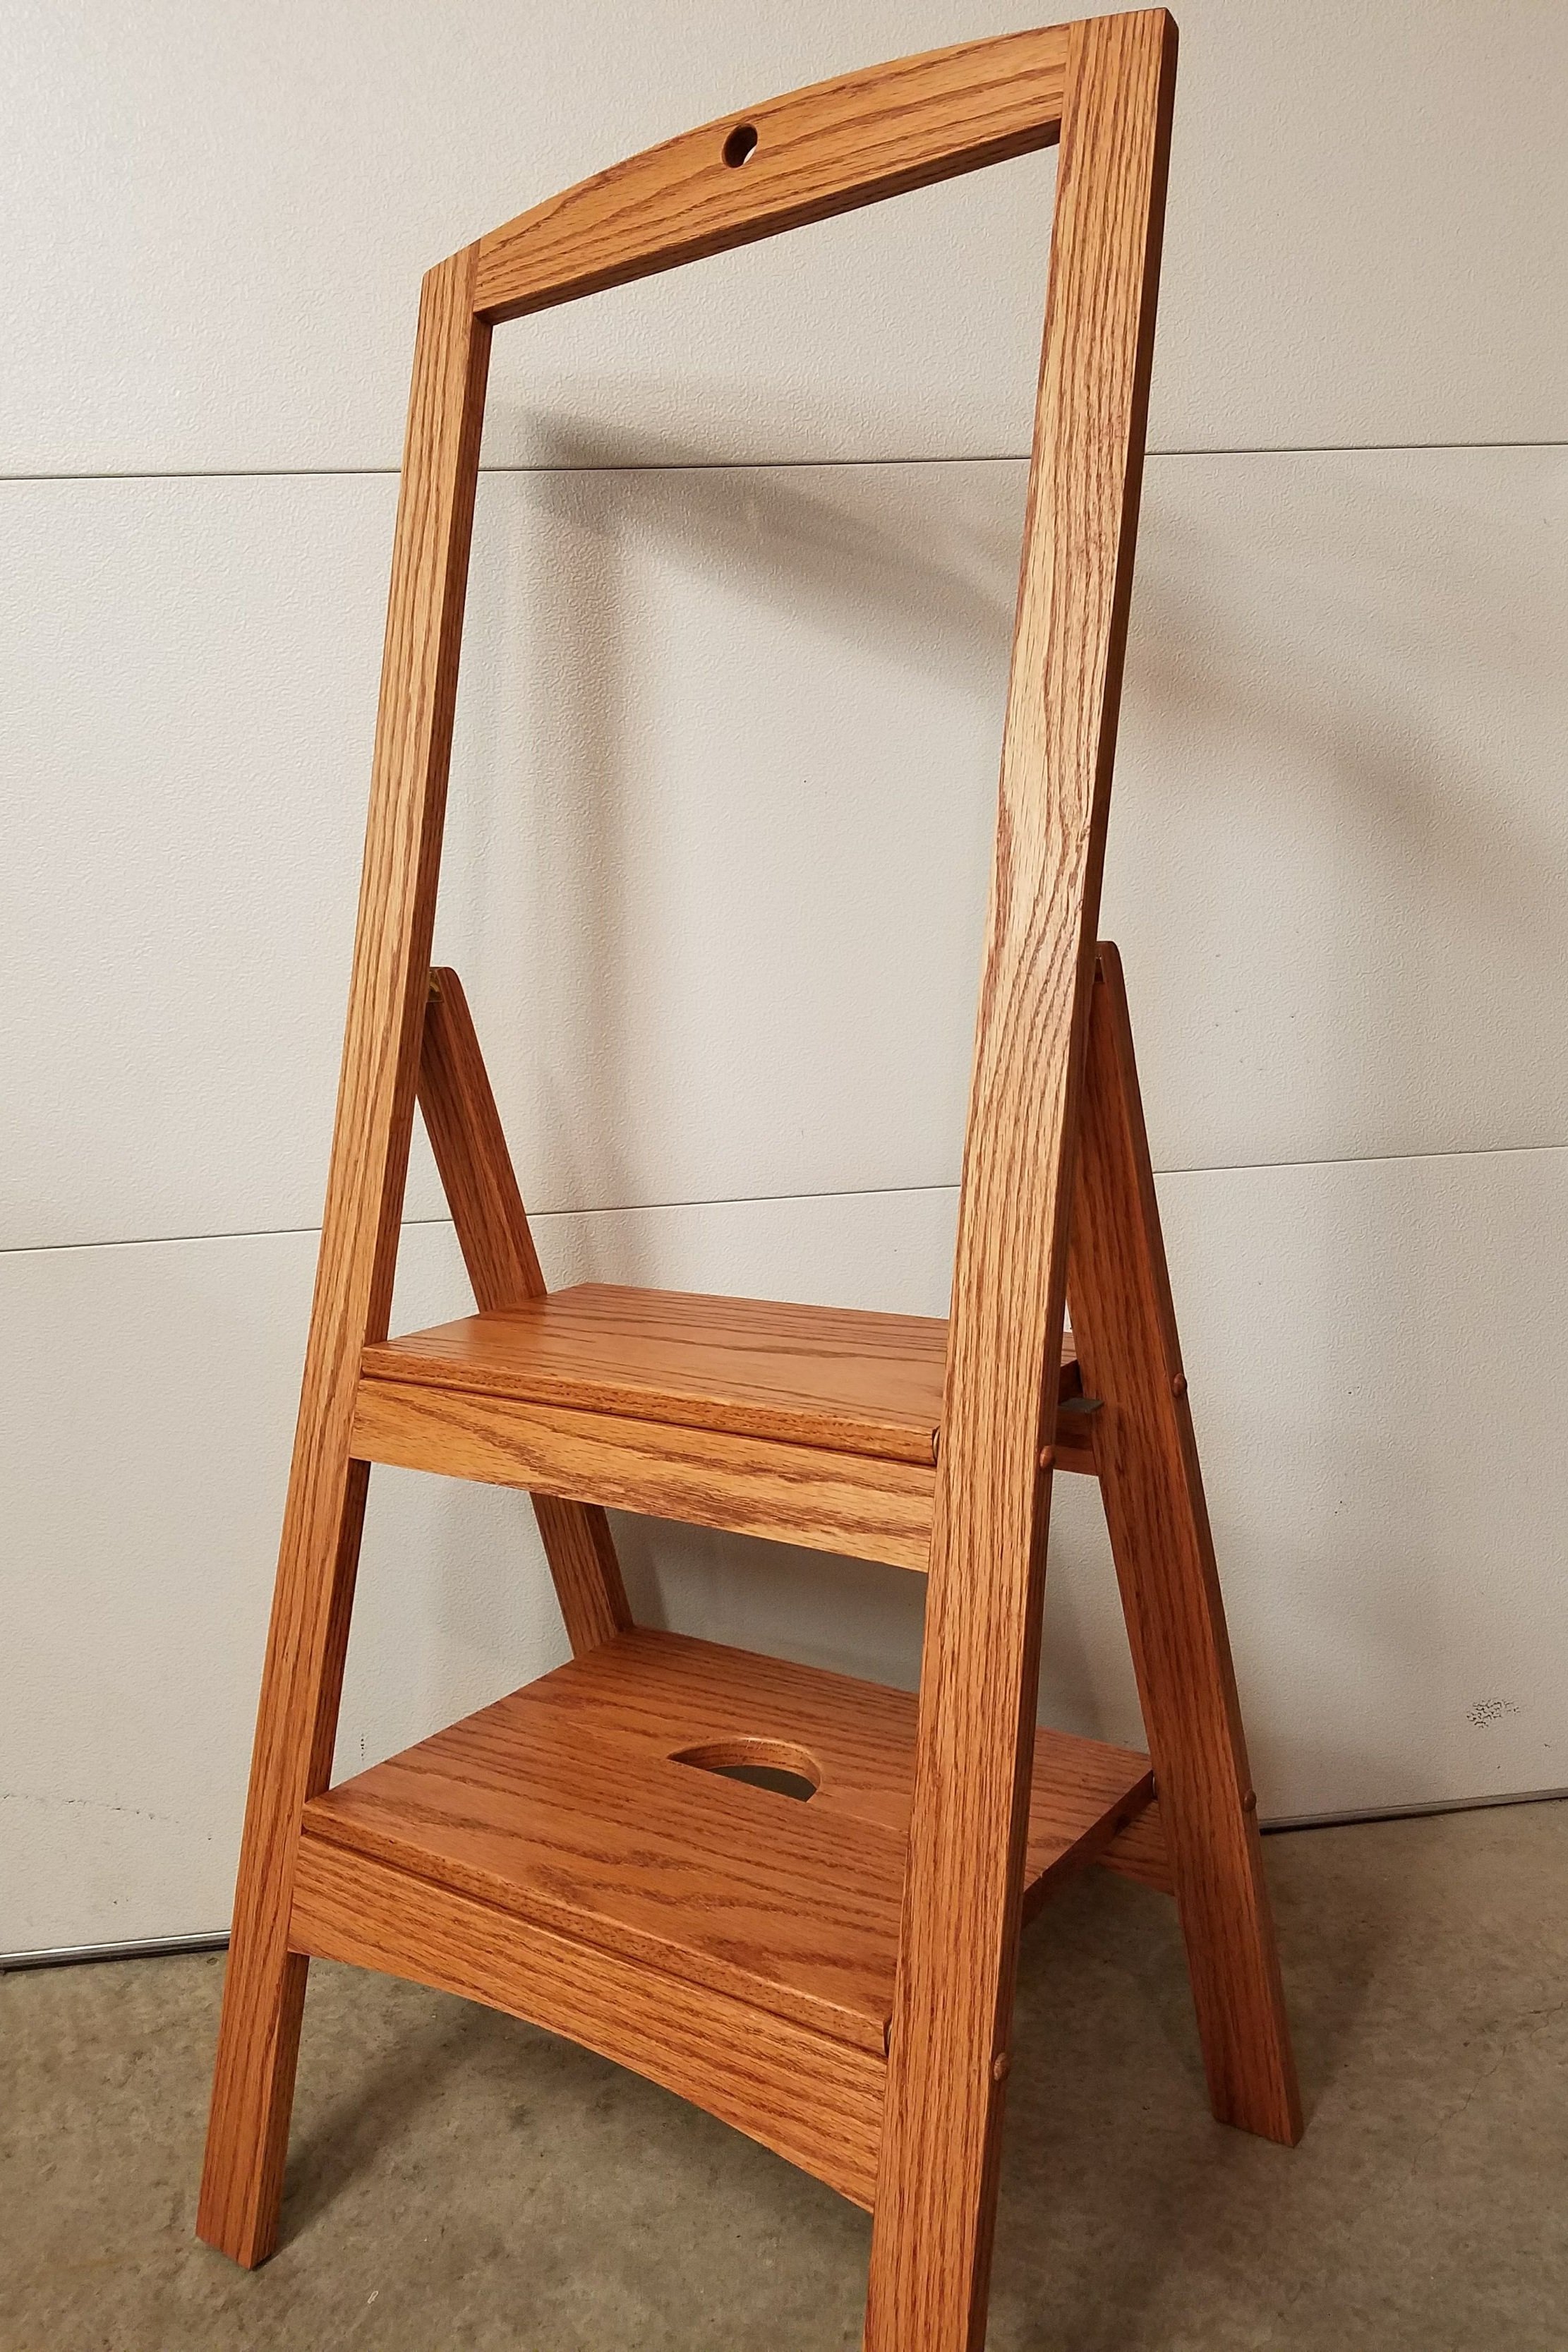
Folding Step Stool
I have made a couple of these folding step stools and have been using the first one I made for several years. It is easy to store, easy to set up, and a safe way to gain some height.... and it looks good! This isn't an in-depth build article but a quick overview of the build.
The Design
I cannot take credit for the design of this step stool, the design and plans are from Woodsmith magazine No. 183. These plans are easy to follow and very detailed. The only alteration I made to their design is I do not use the traditional mortise and tenon joinery. I use the Rockler Beadlock Pro Joinery tool. This tool allows quick joinery that is strong, using only a drill. You could also use a Festool Domino and make the joinery even faster.
Wood Choice
I chose to use Red Oak as I had it on hand and it makes a nice looking piece that will fit most homes. I think a nice Maple, Walnut or Cherry would be really nice. Pine may not hold up to the weight, though. Poplar may be a nice alternative, especially if painting.
Construction
This is a matter of following the plans. I started with the taller front frame, then the shorter rear frame. I cut the rails (horizontal) pieces shorter than the plan due to the joinery method I chose, but the stiles (vertical) pieces were cut to the plans. All joinery was made using the Rockler Beadlock Pro Joinery tool and a drill, following the instructions for the tool and the layouts in the plan. I then turned my attention to the steps, which were cut to the plans, drilled for pins and edges routed. The bottom step gets a little more work to remove the material for a handhold and attach two strap hinges underneath for folding.
Assembly
After all of the pieces were cut and shaped. Everything was sanded with 120, then 220 grit. It's easier to sand everything now before assembly. The Rockler Beadlock Pro Joinery tool uses loose tenons which need to be cut to length, then glued into the mortises and the two frames clamped. While the glue was drying, two tabs need to be made to keep the top step in the up position for folding. I made these from steel bar, using a hacksaw and a file. Holes were drilled for mounting to the underside of the top step. The tall frame holds magnets to catch the steel tabs. At the same time I cut six steel pins that the step will hinge on in the frames. Once the glue was dried on the frames, hinges were attached to the top of the short frame and the back of the tall frame. The step were installed with long hinge pins and the whole assembly was tested. If it all fold nicely, take it all apart for finishing.
The Finish
I chose to stain the oak with a Minwax Cherry stain. This was chose to closely match the stain of the customer's kitchen. I then applied three coats of Minwax wipe on satin poly for the protective finish. The hinges can all be reinstalled and then the steel pins can be epoxied into the steps while the steps are installed in the frames. This can be a tricky operation but can be done with a little patience. The holes in the frames used to insert the hinge pins can then be plugged. I chose to use oak button plugs.
Conclusion
The customer loved the folding step stool and it matched very well with her cabinets. I really like this design and the fact it folds so flat. I have had one of these in my kitchen for almost 10 years and it has always come in handy to reach just a little higher. Thanks for reading! Here are some more pictures of the finished product


