New life for an old kitchen utensil
This old masher
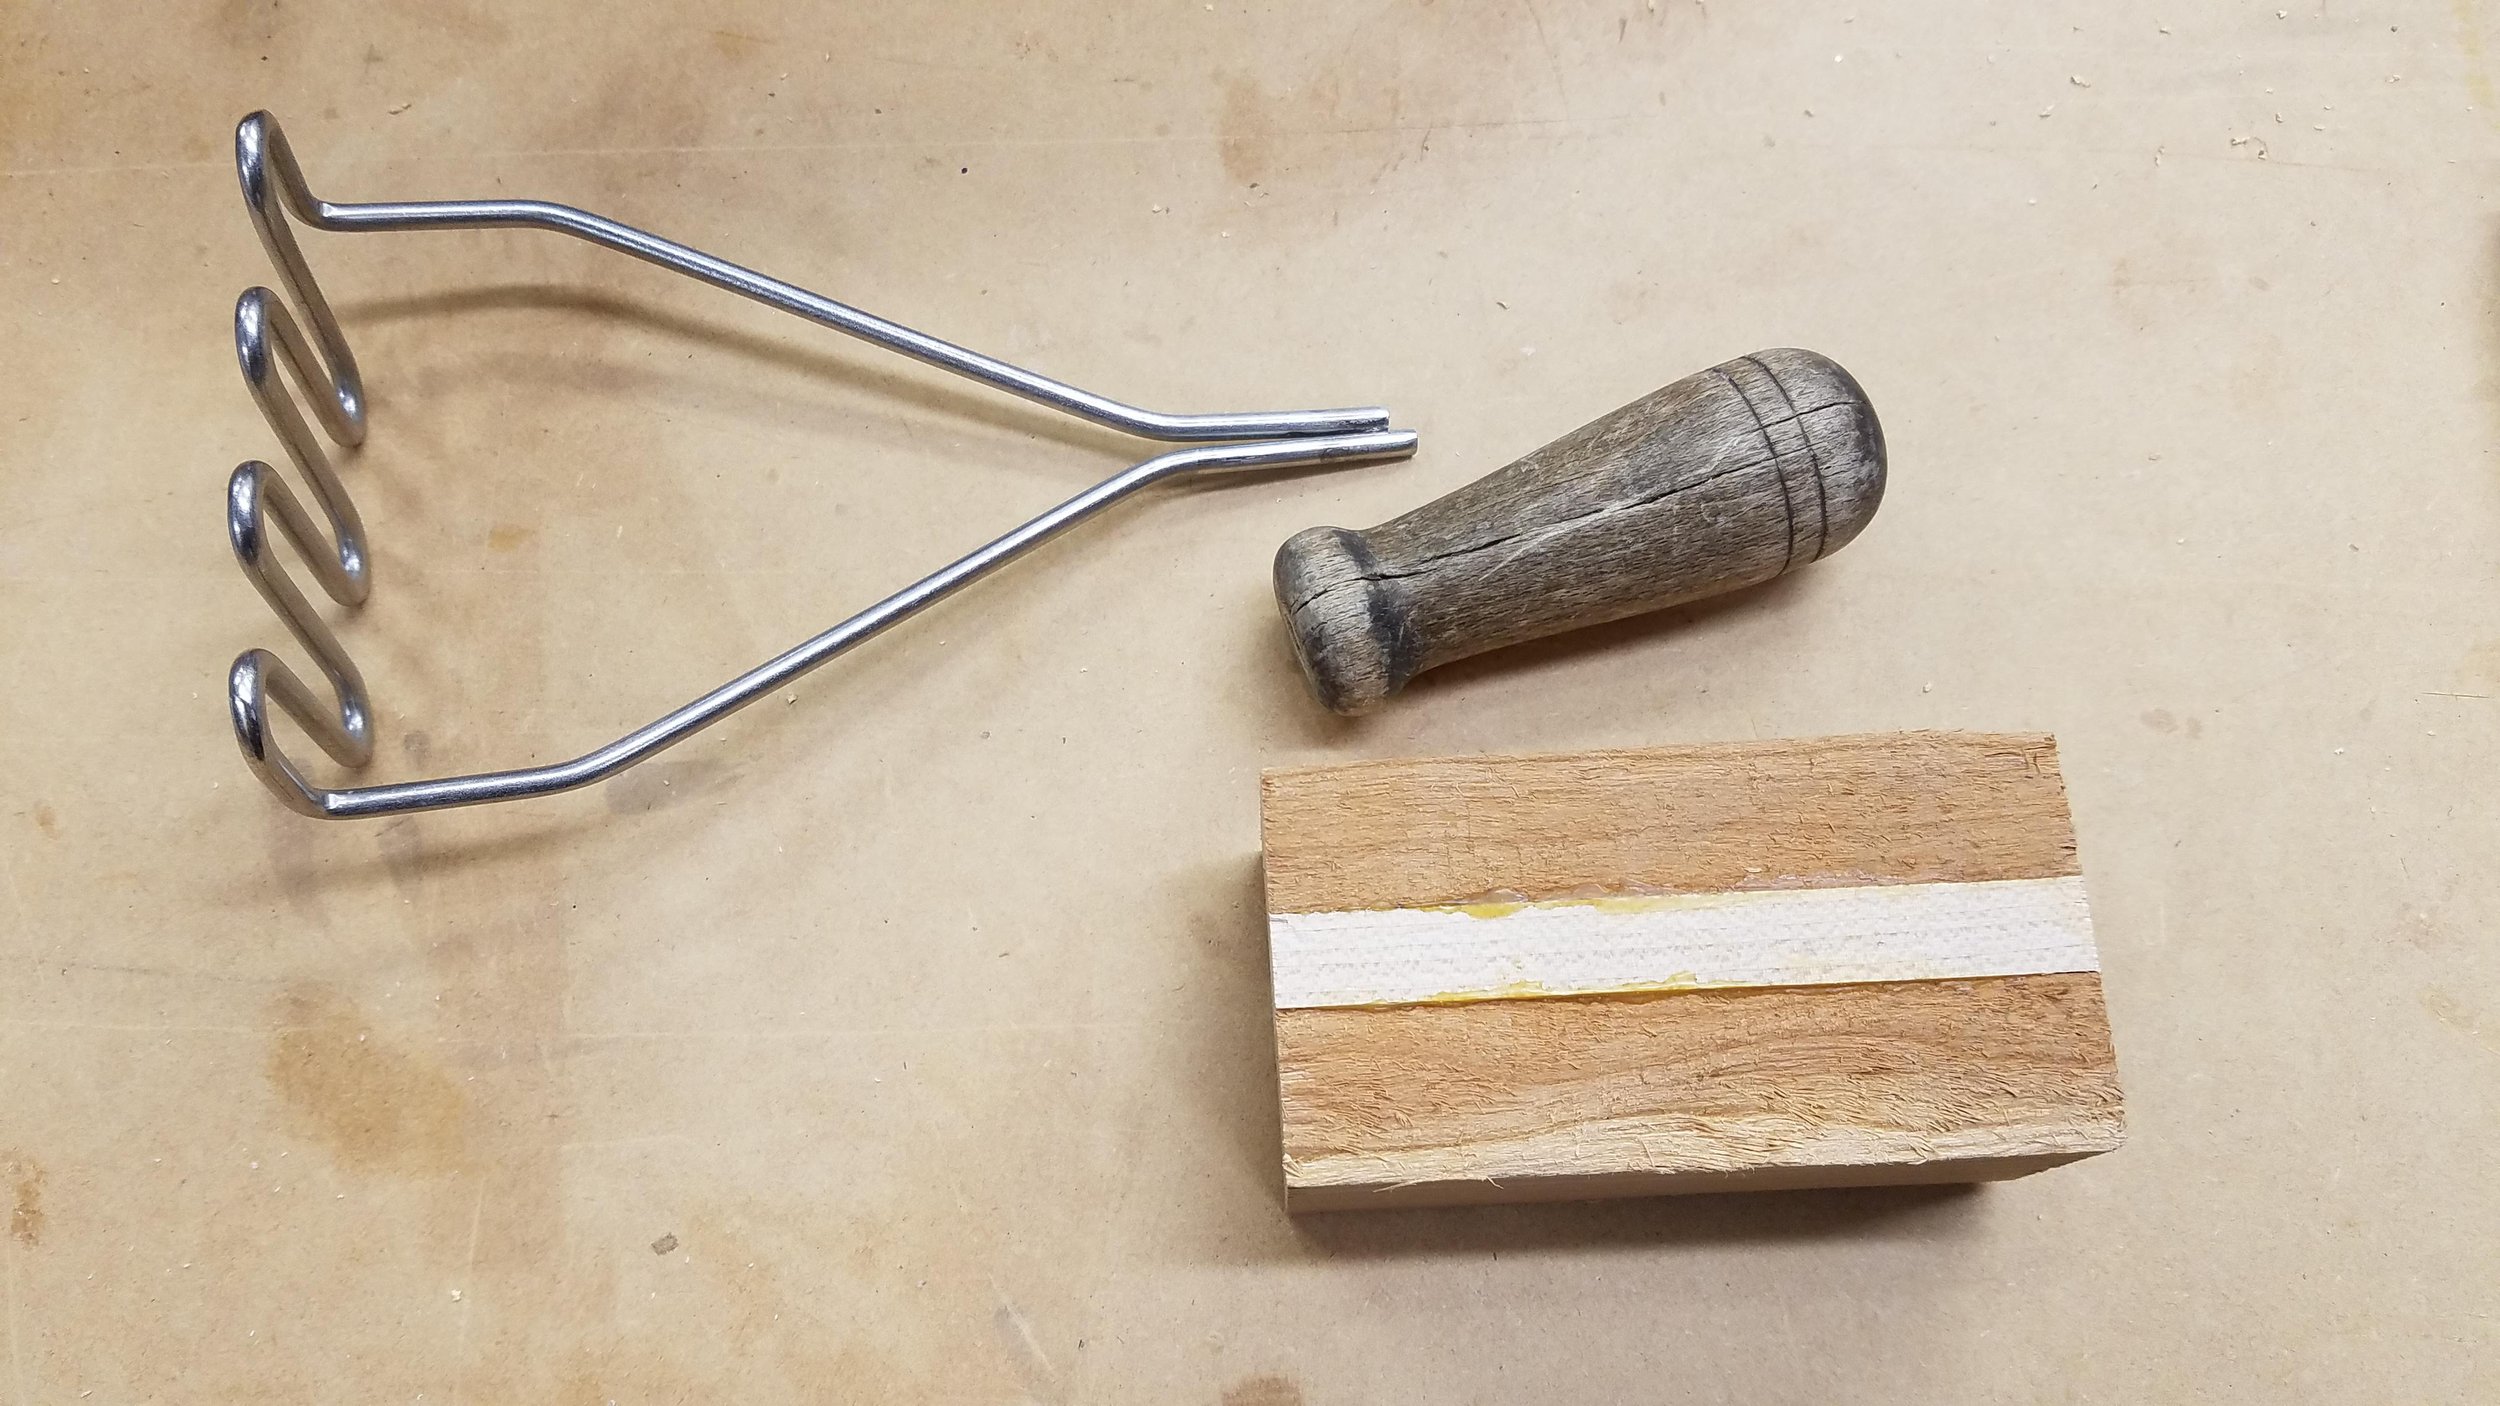
I have had this potato masher for 18 years or so and it was my Grandmother’s go-to tool before that. It's a handy kitchen tool but the handle had seen some better days and was not retaining the stainless masher any longer, making it really difficult to properly mash some taters. I could have simply glued it back in and kept the rustic-looking handle but instead, I wanted to make a new handle that matched other utensil handles I had made.
Starting block
I chose this chunk of Cherry and Maple because it was the same material as a butter knife I made a couple of years ago and we really like the look. The block is about 4 inches long and 2 inches square.
I mounted the block between centers on my Nova Comet II lathe and turned it to a profile similar to the original handle but just a bit longer using my Easy Wood turning tools. I felt it needed a bit more length and this was the maximum length I could get from the block of wood I chose.
Finishing the handle
After sanding the handle to 400 grit on the lathe, I applied several coats of General Finishes Salad Bowl Finish. I let each coat cure for 5 or 6 hours, lightly sanded using 400 grit paper, and applied another coat until I had 6 coats. This will be washed many times and I wanted to provide a durable finish that will last for years. Plus, I really like how easy the finish is to apply. It is very forgiving to apply quickly and not worry about a uniform coat.
Attaching the masher to the handle
When the last coat of finish was completely cured, I moved on to how to attach the handle to the masher. Epoxy was the choice since it bonds well, will be waterproof, and should make it easy to assemble.
I started by drilling a 5/16" hole in the handle center, where the lathe live center was. This provided a hole that was a snug fit to the two wires of the masher, keeping it in place while the epoxy cures and hopefully holding the two parts together if the epoxy were to fail.
With the masher fitting the handle and some extra depth to the hole for more epoxy, I mixed up a small batch of 15 minute epoxy from Bob Smith Industries. This was the first time I used the 15 minute formula, but I have used the 5 minute formula for a couple of years. Both work really well.
To prevent the epoxy from damaging all my hard work, I made a mask from some tape by placing the tape on the handle and cutting out the hole for the masher. The clamp is just there to keep the handle upright while the epoxy cures.
Wrapping up
I am really happy how this new-old potato masher came together and it should darken as much as the butter knife has. I hope this will last many more generations as the original handle had.
Thanks for reading!
Mark


